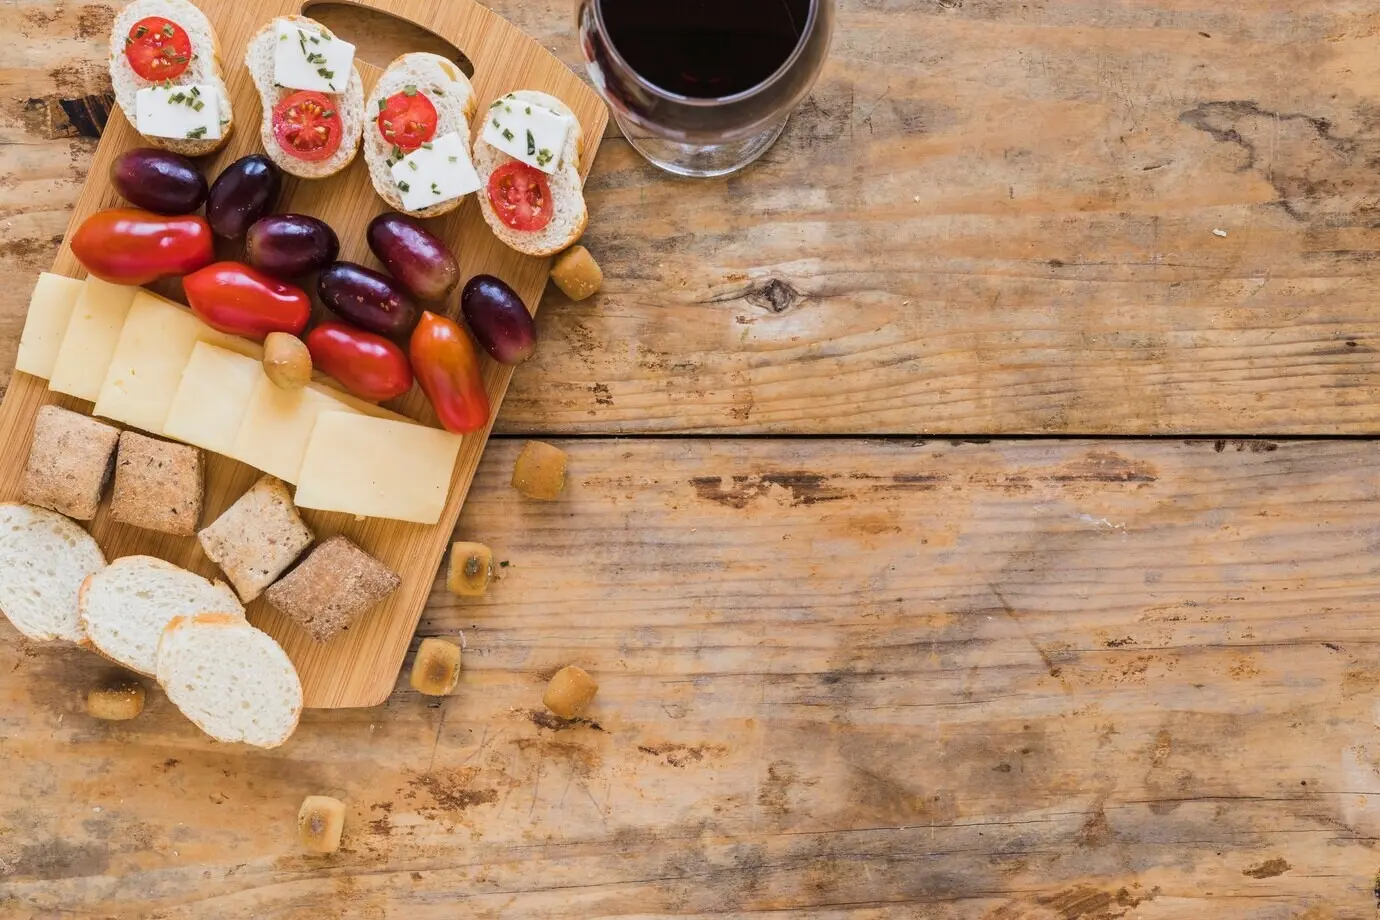
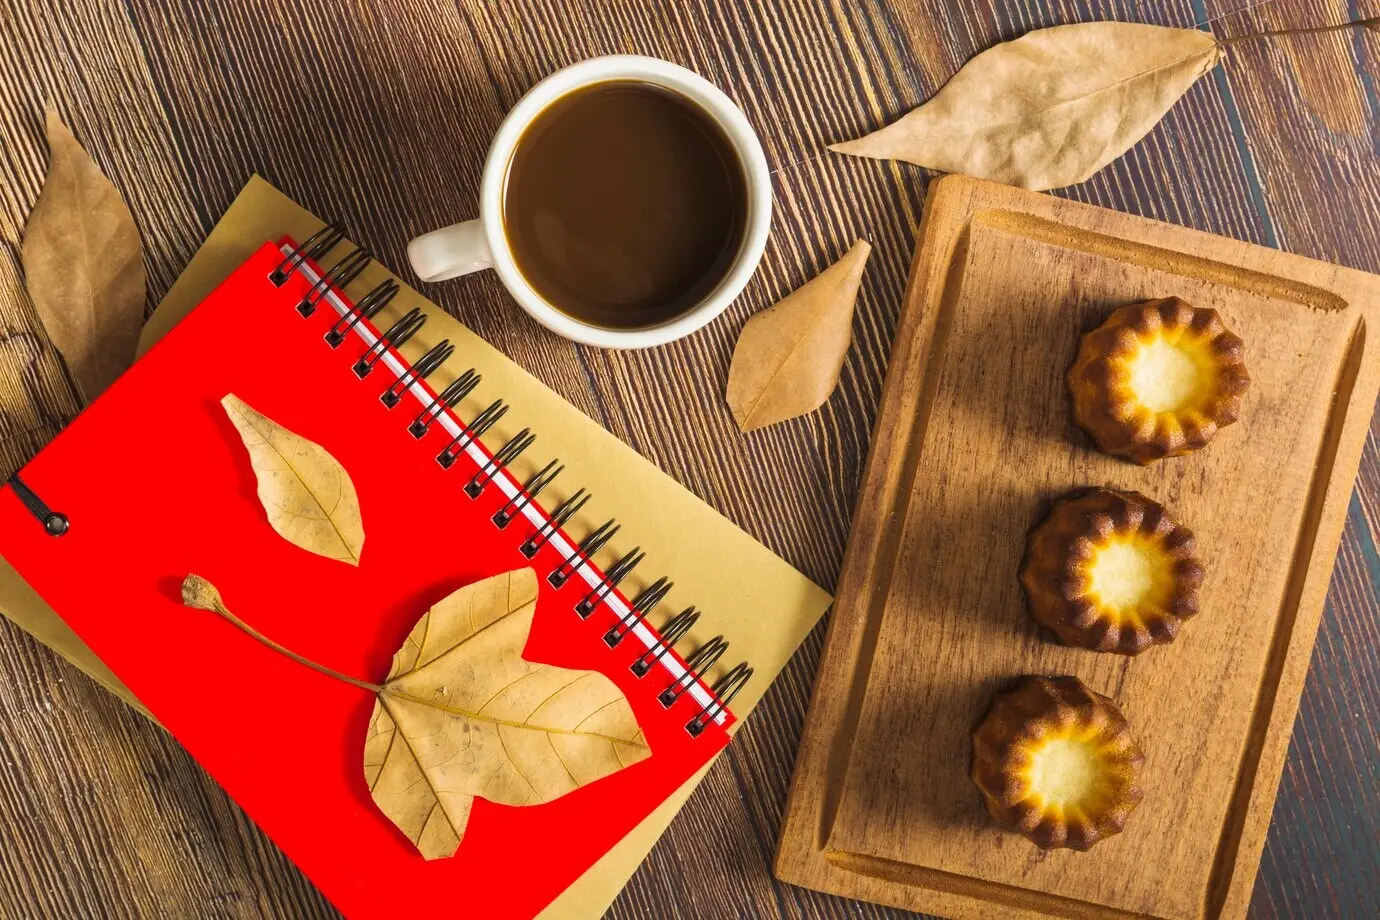
Bring Back the Glow with Olive Oil, Vinegar, and Lemon

Today we’re diving into DIY wood polish recipes built from olive oil, vinegar, and lemon, turning pantry staples into a trustworthy shine that respects character and grain. You’ll learn balanced ratios, safe application habits, and practical troubleshooting, plus a few personal stories that prove small, consistent care transforms tired tables, banisters, and boards. Bring a soft cloth, curiosity, and a willingness to patch test, and we’ll revive luster without harsh solvents while keeping kitchens, nurseries, and workshops smelling bright, clean, and welcoming.

Olive Oil’s Conditioning Role

Select a fresh, light olive oil so pores receive emollient benefits without heavy residue. Unlike drying oils that fully polymerize, olive oil mainly cushions fibers, restoring suppleness and depth. When buffed thoroughly, it supports a gentle glow, helping micro-scratches appear softened while maintaining tactile warmth and natural grain movement across tabletops, handrails, and cherished keepsakes that deserve careful, thoughtful attention.

Vinegar’s Gentle Cleaning Power

White distilled vinegar, diluted appropriately, helps break down fingerprints, light mineral haze, and dulling residues without scouring finishes. Its mild acidity loosens grime so the polishing step can actually reach the wood’s surface. Used sparingly and buffed dry, it supports a streak-free result while minimizing water exposure, making it a helpful partner when reviving frequently handled furniture and busy family surfaces.

Lemon’s Aroma and Degreasing Edge

Fresh lemon juice or a few drops of quality lemon essential oil lift kitchen greases and brighten the overall experience with an uplifting scent. Citrus components help disperse oily film, allowing the blend to spread evenly and buff clean. Beyond fragrance, lemon’s light degreasing action encourages even sheen while keeping the process enjoyable, motivating regular, mindful maintenance that preserves character and calming beauty.

Ratios That Actually Shine, Not Smear

The right proportions prevent residue and streaks while making buffing easier. Balance comes from a lightweight oil, a carefully diluted acidic element, and just enough lemon to cut film without overpowering. Start with small batches so freshness stays high and adjustments stay easy. As your confidence grows, you can tweak viscosity, scent intensity, and working time to suit different woods, rooms, and seasonal humidity shifts.

Everyday Kitchen Counter Formula

Combine two parts light olive oil with one part diluted white vinegar, then add a few drops of lemon. This kitchen-friendly blend excels at quick refreshes and frequent touch-ups. Apply lightly, buff thoroughly, and revisit high-traffic areas weekly. The approachable ratio supports a reliable, soft sheen, discourages haze, and encourages consistency, which ultimately preserves finish integrity and keeps maintenance joyful rather than overwhelming.

Deep-Restore Weekend Blend

For dull or neglected surfaces, slightly increase the oil content and extend buffing time. Work in sections, allowing the mixture to sit a minute before vigorous polishing. This approach coaxes depth back into thirsty wood while still letting vinegar assist with residual film. Finish with a dry cloth to lift any lingering moisture, revealing luster that feels earned rather than artificially shiny.

Food-Contact-Savvy Approach

When treating salad bowls or cutting boards, keep vinegar very light and use zest or high-quality essential oil sparingly. Your goal is refreshed appearance without scent transfer. Wipe on a minimal amount, let it penetrate briefly, then buff until the surface feels nearly dry. Repeat periodically, always prioritizing cleanliness, freshness, and a comfortable, natural feel under the knife and fingertips.

Patch Test Like a Pro

Choose an inconspicuous spot—inside a leg, under a leaf, or behind a drawer—and try the mixture in the smallest amount possible. Watch for dulling, clouding, or color shift. Wait a few hours, then inspect with natural light. This respectful check protects antique finishes, lacquered pieces, and sentimental furniture while building confidence before you commit to the entire surface.

Buffing With the Grain

Apply a tiny amount, then buff in long, overlapping strokes following the grain. Switch to a fresh dry cloth for the final passes, removing every trace of excess. This technique minimizes swirl marks, keeps pores from feeling sticky, and highlights figure beautifully. The reward is a comfortable, touchable surface that looks nourished rather than glazed or coated.

Oiled and Waxed Surfaces

These surfaces appreciate conditioning, but moderation matters. Use lighter mixtures and insist on thorough buffing to avoid buildup in pores. If a piece already has wax, keep vinegar very mild and minimize sitting time. After polishing, wait a day before adding any wax top-up, letting the surface settle so both conditioning and protective layers harmonize without muddiness or residue.

Varnish, Lacquer, and Polyurethane

For sealed finishes, think more about cleaning residue than feeding fibers. Keep applications exceptionally thin and focus on an immaculate buff-out. If the cloth drags, switch to a cleaner, drier pad. The goal is a refreshed, comfortable sheen, not an oily layer. When in doubt, use more elbow grease and less mixture, allowing the finish itself to provide the final glow.

Troubleshooting, Safety, and Common Myths

Homemade polish is forgiving, but awareness prevents setbacks. Freshness matters, so mix small quantities. Control moisture to avoid raised grain and streaks. Always dispose of oily rags safely to prevent spontaneous combustion—spread them flat to dry outdoors or soak in water before sealing. With a cautious mindset, small mistakes stay temporary, and your results improve steadily with every thoughtful session.

Scent, Shine, and Smart Upgrades

Once the fundamentals feel easy, small enhancements add joy. A lemon peel infusion softens fragrance, while a few drops of essential oil intensify brightness. Beeswax offers protective body without plastic feel. Natural antioxidants extend freshness. Each tweak respects the original simplicity, letting you craft a method that honors your space, your schedule, and the personality of the wood you care for.

Lemon Infusion vs Essential Oil

Steeping lemon peel in olive oil creates a gentler, rounder fragrance that feels cozy and subtle. Essential oil delivers a stronger, cleaner burst with fewer variables. Either way, start small and build slowly, prioritizing clarity and comfort. Let scent support the ritual without overwhelming it, keeping attention on safe technique, thoughtful buffing, and that satisfying, touchably calm finish.

Beeswax for Extra Body

Melt a little grated beeswax into warm olive oil for a richer, semi-solid polish that fills fine pores and improves water resistance. Apply sparingly, allow a short set, then buff until glow emerges without drag. This upgrade suits tabletop zones that meet cups and elbows daily, balancing practical protection with a natural, inviting, hand-rubbed appearance that never feels plastic.

Stories, Results, and Your Turn

Real experiences transform theory into confidence. A thrifted table becomes a gathering spot again; a tired dresser regains quiet dignity. Share what worked, what didn’t, and the exact ratios that felt right in your climate. Post before-and-after photos, ask questions, and subscribe for seasonal routines, deeper dives, and gentle reminders that consistency, patience, and good cloths beat magic potions every time.
Vaxopanivanazuxivukaxo
Privacy Overview

This website uses cookies so that we can provide you with the best user experience possible. Cookie information is stored in your browser and performs functions such as recognising you when you return to our website and helping our team to understand which sections of the website you find most interesting and useful.